Why Pre-Listing Preparation Drives Outcomes
Most buyers in Seattle's market are searching online first. The quality of listing photography — and the home it captures — determines whether a buyer schedules a tour at all. Homes that are prepared before photography consistently generate more showings, stronger offers, and shorter days on market.
Pre-listing preparation is not cosmetic. It is strategic. The goal is to present the home at the top of its competitive category so that buyers have no objection and no reason to undervalue. Every hour invested in preparation compounds in the final sale price.
Week One: Declutter and Deep Clean
Start by removing everything that is not serving the space. This means personal photographs, seasonal decor, extra furniture, collections, and anything stored in visible areas. Buyers need to project their lives onto the home — personal objects make that harder.
Deep clean every surface: baseboards, window tracks, light switch plates, inside appliances, grout lines, and ceiling fan blades. Buyers open cabinets, look under sinks, and notice what most homeowners stop seeing. A thorough clean communicates that the home has been well maintained — which builds buyer confidence.
Week Two: Repairs and Maintenance
Address every deferred maintenance item you are aware of. Dripping faucets, sticky doors, cracked caulk, flickering light fixtures, loose hardware, broken blinds — these are small costs that buyers inflate into large concerns. Each unaddressed item becomes a negotiating point or a reason to reduce the offer.
Fresh paint is one of the highest-return investments in pre-listing preparation. A coat of neutral paint on scuffed walls transforms a home's cleanliness and appeal for a fraction of the cost of any structural improvement. Focus on high-traffic areas: entryways, kitchens, primary bedrooms, and bathrooms.
Week Three: Room-by-Room Staging
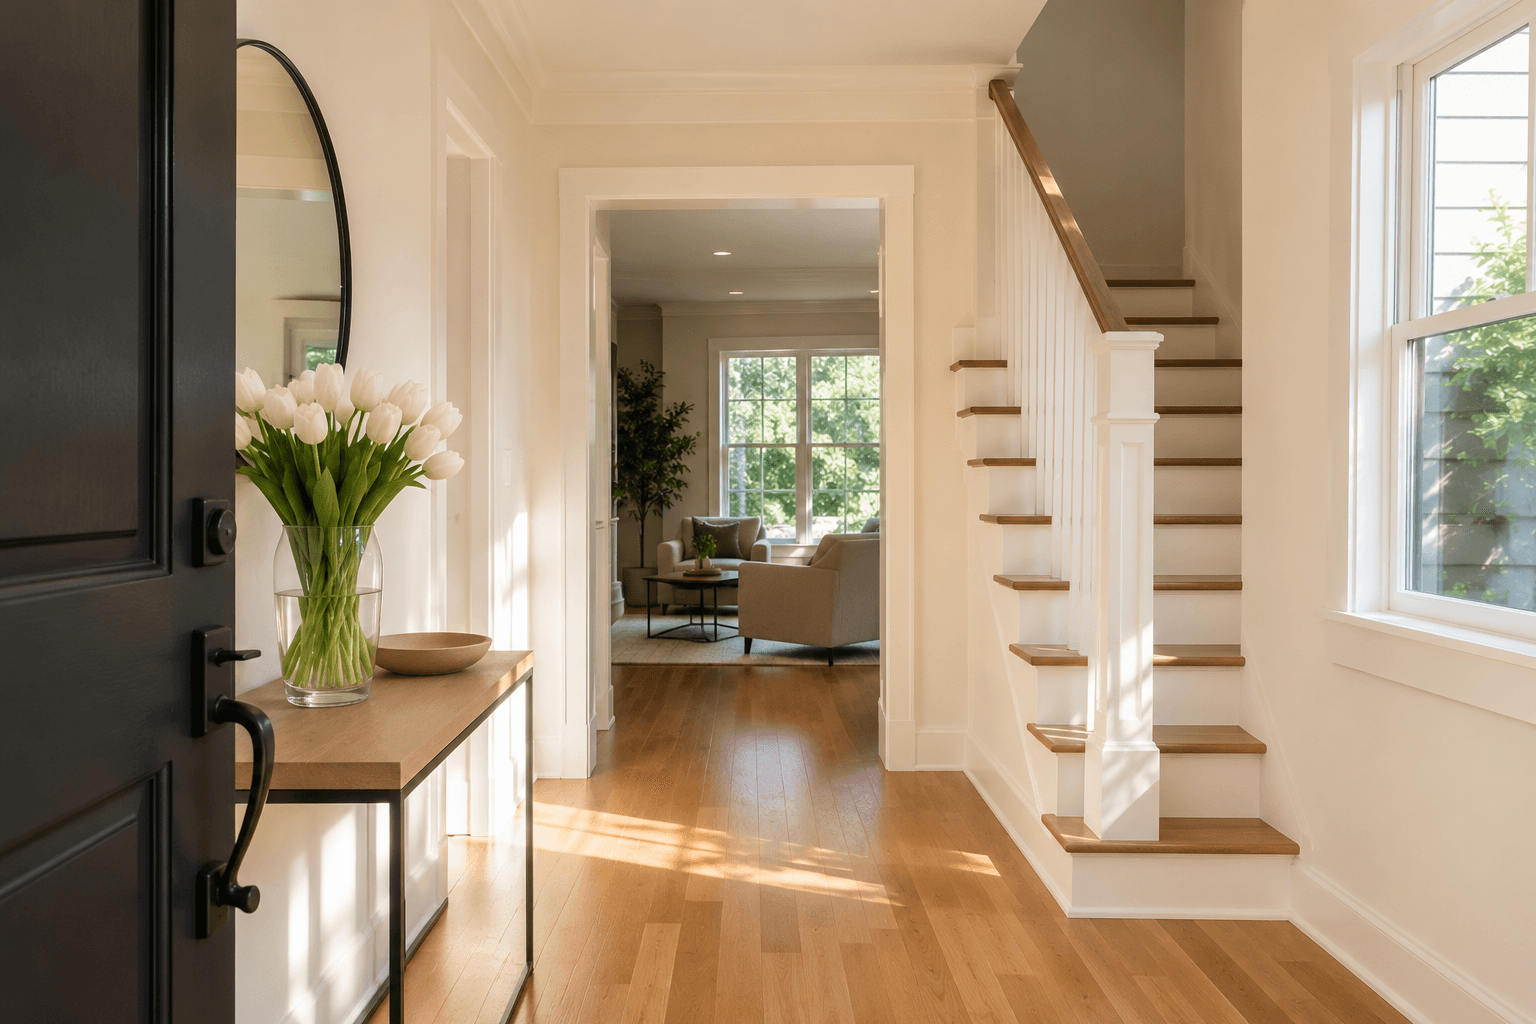
Entry and living room: Buyers decide quickly. The entryway and living room need to feel spacious, light-filled, and purposeful. Reduce furniture to what is needed to define the function of each space. If the living room reads as a storage area, it will photograph and show that way.
Kitchen: Clear all countertops except one or two intentional items — a cookbook, a fruit bowl, a plant. Clean appliances inside and out. Re-caulk the sink if needed. Replace dated hardware if budget allows. The kitchen is the room buyers spend the most time evaluating.
Bedrooms, Bathrooms, and the Primary Suite
Primary bedroom: Crisp bedding in a neutral palette, minimal nightstand objects, and adequate lighting. Remove personal items from dressers. The primary suite should feel like a retreat — not a room someone lives in.
Bathrooms: Replace worn towels with fresh white ones. Remove personal care products from counters and shower. Re-caulk if there is any discoloration. A clean mirror, clean fixtures, and a simple plant or candle are all that is needed. The goal is hotel-clean.
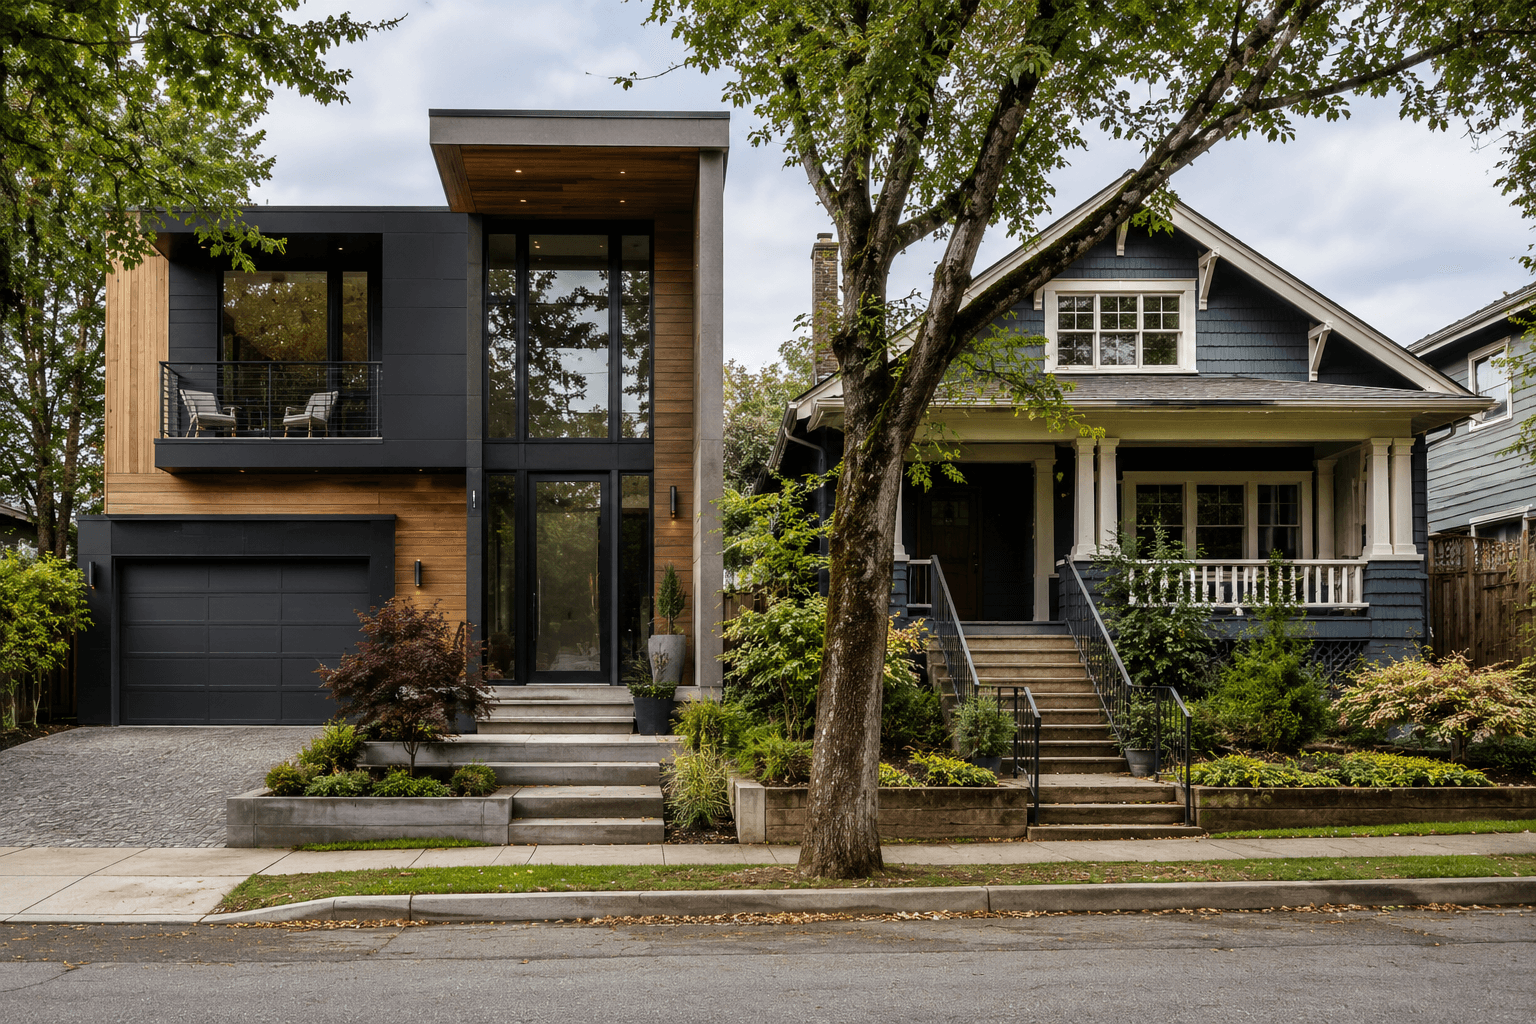
Curb Appeal and Exterior
The exterior is the first impression buyers form — both driving by and arriving for a tour. Power wash the driveway, walkway, and any hardscape. Clean the gutters. Paint or refinish the front door if it is showing wear. Replace the house numbers if they are dated.
Landscaping does not need to be elaborate — it needs to be tidy. Edged lawn, pruned shrubs, cleared beds, and fresh mulch communicate maintenance and pride of ownership. In Seattle's spring and summer market, a well-maintained exterior generates immediate goodwill.
Final Week: Professional Photography Preparation
The day before photography, do a final pass. Every light should be on and in working order. Every surface should be cleared to the staged standard. Toilet lids closed. Towels straight. Blinds open to maximize light. Remove vehicles from the driveway.
Professional real estate photography is not a cost — it is an investment. In Seattle, homes with professional photography consistently attract more online clicks, more showings, and ultimately stronger offers. The listing photos are the product until a buyer walks through the door.
Frequently Asked Questions About Pre-Listing Preparation
How much should I spend on pre-listing preparation? A general guideline is 1% to 2% of the expected sale price invested in preparation. For a $1 million home, that is $10,000 to $20,000 — which often returns three to five times that amount in final sale price. Your agent should help you prioritize where the investment creates the most value.
Should I renovate the kitchen before selling? In most cases, no. Major renovations rarely return their full cost in a sale context, and buyers often prefer to choose their own finishes. Cosmetic refreshes — new hardware, painted cabinets, updated fixtures — are far more cost-effective than full renovations.
Do I need professional staging, or can I do it myself? A professional stager brings an objective eye and access to furniture and accessories that transform a home's appeal. For homes priced above $800,000, professional staging is typically worth the investment. For homes below that, a thorough declutter and clean following staging guidelines often achieves similar results.
Preparation is the one variable in a home sale that the seller controls entirely. The market sets the ceiling — preparation determines how close you get to it.